The bouncing bullets have been a simple source of joy for generations. Whether you remember the pleasure of childhood or the search for a practical scientific activity, making your own bouncing bullets is an exciting and enriching experience. However, many inflatable balls purchased in stores are made using synthetic polymers and non -biodegradable plastics which are harmful to the environment. This is where the ecological version comes into play.
This article guides you through the manufacture of inflatable DIY inflatable balls that respect the environment using natural or less harmful materials for the environment. It is a perfect project for children, educators or people concerned with the environment who like creative crafts that promotes sustainability. You will learn to make these bullets from objects that you probably already have at home, while understanding the chemistry behind the bouncing action.
Let’s dive into the world of biodegradable and fun science!
Ingredients:
To make an average ecological inflatable ball, you will need:
-
1 tablespoon of cornstarch (a natural polymer)
-
2 tablespoons of white school glue (preferably biodegradable or plant -based glue)
-
½ teaspoon of baking soda (sodium bicarbonate)
-
1 tablespoon of natural food coloring (Optional, but use a coloring with plants or natural for eco-advice)
-
1 teaspoon of vinegar (for reaction with baking soda)
-
Hot water (if necessary)
-
Small bowls or disposable cups for mixing
-
Wooden craft stick or spoon to stir
-
Rubber gloves (Optional but recommended)
-
Plastic or waxed paper envelope (for shaping and drying)
Preparation:
Step 1: Prepare your work surface
Start by laying waxed paper or newspaper to keep your workspace clean. This also helps easy cleaning and prevents the mixture of ecological glue and corn from sticking to surfaces.
Step 2: Create the glue mixture
In a small bowl, mix 2 tablespoons of biodegradable white glue with a few drops of natural food coloring. Stir until the color is distributed evenly. This mixture will serve as the basis of your inflatable ball and will help create the structure of the polymer.
Step 3: Add the cornstarch and baking soda
Add 1 tablespoon of cornstarchy starch to colored glue mixture. Rag are slowly to start incorporating the cornstarch into the glue. Then add ½ teaspoon of baking soda and keep stirring. The baking soda will react later with vinegar, creating carbon dioxide bubbles which help develop the polymer network.
Step 4: trigger the reaction
Add 1 teaspoon of vinegar to the mixture. You should notice a sparkle because the vinegar reacts with the baking soda. Stir vigorously when the ingredients are starting to thicken. Continue to stir until the mixture becomes difficult to manage with a stick and begins to form a semi-solid blob.
Step 5: Knead and form
Using your hands (wear gloves if you wish), knead the ball in a ball. This process can take a few minutes. Petrinage helps align the polymers, giving elasticity and rebound of the ball. Continue to knead and shape until you reach a round and smooth bullet. If the mixture is too sticky, sprinkle a little more cornstarch. If it is too dry, add a little bit of water or glue.
Variation:
You can try several variations to customize your inflatable balls:
-
Add glitter or herbs: Mix ecological glitter or crushed mint leaves for texture and smell.
-
Use natural extracts for color: Beet juice, turmeric or spinach water can add color without synthetic dyes.
-
Change the shape: Mont les Boules in stars, cubes or hearts using silicone molds.
-
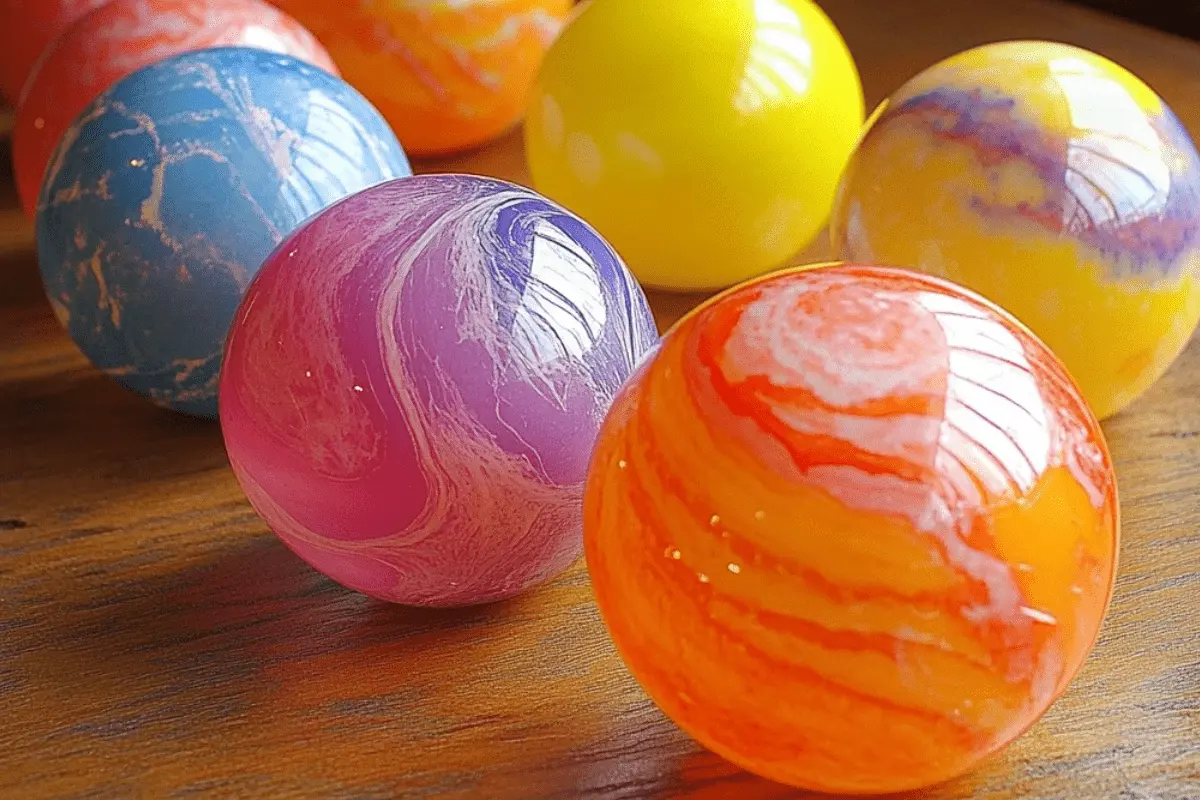
Multicolored swirls: Make separate lots with different colors and swirl them together before the final shaping.
Kitchen note:
Even if there is no real “cooking” involved, the temperature and the mixture are crucial. The use of hot water (not hot) helps activate glue and accelerates the bond process. The sur-core can make the ball friable, while the under-conjunction can prevent it from bouncing properly.
Suggestion services:
Of course, these are not edible, but here is how to “serve” them for pleasure:
-
Festive Favors: Pack them in reusable fabric bags for children’s party favors.
-
Scientific fair projects: Use them to demonstrate polymer reactions and elasticity.
-
Class activities: Safety for supervised use in class, they serve as a lesson in practical chemistry.
-
Ecological gifts: Personalize them and associate them with an information card on sustainability.
Advice:
-
Always keep the inflatable balls in an airtight container to prevent them from drying.
-
If the ball becomes flat or distorted, connect it slightly to restore the shape.
-
Enough of pets or young children who could confuse them with food.
-
These bullets are not waterproof; Excessive humidity will degrade them.
-
For more rebounds, let the finished ball dry for 24 hours, then try!
Preparation time: 10 minutes
Cooking time: 5 minutes (mixing and reaction)
Total time: 15 minutes
Nutritional information:
(Not for consumption, but here is a break for safety and eco-consciousness)
-
Calories: 0 (not edible)
-
Protein: 0g
-
Sodium: Minimal (depends on the baking soda used)
-
Environmental footprint: Low – uses biodegradable or household materials
-
Toxicity level: Very low (safe with adult supervision)
-
Biodegradability: High
FAQ:
Q1: Are these inflatable balls without danger for toddlers?
A: Yes, under supervision. The materials are generally non -toxic, but the bullets should not be ingested or maintained with unopensed children.
Q2: How long do they last?
A: Generally 5 to 7 days if it is stored in an airtight container. They can dry or lose elasticity after a week.
Q3: Can I use a different glue?
A: Yes, but choose a biodegradable or labeled glue as “environmentally friendly”. Avoid industrial or synthetic glues.
Q4: Will they bounce as high as those purchased in store?
A: Not quite. They bounce moderately well but are not as elastic as rubber or commercial plastic balls.
Q5: Are there any vegan versions?
A: Absolutely! Just make sure that the glue is based on plants and that no food coloring derived from animals is used.
Conclusion:
Make your own respectful DIY inflatable balls is a delicious, educational and environmental project. It fills the gap between science and sustainability, offering an excellent alternative to oil -based toys. From understanding polymer reactions to the development of a personalized toy, this practical activity is perfect for all ages. With a minimum of ingredients, a low cost and creative flexibility, these inflatable balls are a fantastic way to promote eco-consciousness while having fun.
Whether you taught science, you are looking for a committing job or just want to reduce plastic waste in your home, this project offers all the joy of bouncing without any environmental guilt. So roll up your sleeves, take your cornstarch and your glue and let the environmentally friendly pleasure start!
clock iconcutleryflag iconfile iconInstagram iconPinterest iconFacebook iconprinting iconSquare iconHeart iconSolid heart icon
Ingredients:
To make an average ecological inflatable ball, you will need:
-
1 tablespoon of cornstarch (a natural polymer)
-
2 tablespoons of white school glue (preferably biodegradable or plant -based glue)
-
½ teaspoon of baking soda (sodium bicarbonate)
-
1 tablespoon of natural food coloring (Optional, but use a coloring with plants or natural for eco-advice)
-
1 teaspoon of vinegar (for reaction with baking soda)
-
Hot water (if necessary)
-
Small bowls or disposable cups for mixing
-
Wooden craft stick or spoon to stir
-
Rubber gloves (Optional but recommended)
-
Plastic or waxed paper envelope (for shaping and drying)
Step 1: Prepare your work surface
Start by laying waxed paper or newspaper to keep your workspace clean. This also helps easy cleaning and prevents the mixture of ecological glue and corn from sticking to surfaces.
Step 2: Create the glue mixture
In a small bowl, mix 2 tablespoons of biodegradable white glue with a few drops of natural food coloring. Stir until the color is distributed evenly. This mixture will serve as the basis of your inflatable ball and will help create the structure of the polymer.
Step 3: Add the cornstarch and baking soda
Add 1 tablespoon of cornstarchy starch to colored glue mixture. Rag are slowly to start incorporating the cornstarch into the glue. Then add ½ teaspoon of baking soda and keep stirring. The baking soda will react later with vinegar, creating carbon dioxide bubbles which help develop the polymer network.
Step 4: trigger the reaction
Add 1 teaspoon of vinegar to the mixture. You should notice a sparkle because the vinegar reacts with the baking soda. Stir vigorously when the ingredients are starting to thicken. Continue to stir until the mixture becomes difficult to manage with a stick and begins to form a semi-solid blob.
Step 5: Knead and form
Using your hands (wear gloves if you wish), knead the ball in a ball. This process can take a few minutes. Petrinage helps align the polymers, giving elasticity and rebound of the ball. Continue to knead and shape until you reach a round and smooth bullet. If the mixture is too sticky, sprinkle a little more cornstarch. If it is too dry, add a little bit of water or glue.
- Preparation time: 10 minutes
- Cooking time: 5 minutes